Rig & Animate Quickly with Masterpiece Motion and Tvori
Learn how to make your workflow more productive in virtual reality without removing quality.
In 7 easy steps, VR artists Martin Nebelong and Ian Crighton created a short animation using MasterpieceVR, Masterpiece Motion and Tvori.
Join us while we break it down.
Step 1 - The Storyboard
To kick-off this project the artist used a rough storyboard drawn on iPad using Procreate, so they would align on the pacing, tone, and movement of the characters in the scene.
Step 2 - Character Creation with MasterpieceVR
“We wanted to bring in an extra bit of life to the creature, and that is really easy in VR,” says Ian Crighton. He experimented with a look and feel of the octopus as ”more amped or exaggerated”.
Creating the model in MasterpieceVR
MasterpieceVR’s toolset is excellent for creating 3D concepts quickly. As an example, the body was initially blocked out using the shape sculpt tool and detailed using the erase, pinch, and smudge tools. Then one tentacle was converted to a mesh object and copy/pasted onto the other seven identical limbs. This allowed for separate texture effects to be added on for the export.
Step 3- The Environment with MasterpieceVR
“The stamp feature in MasterpieceVR made the process of environmental design infinitely easier than traditional methods of sculpting. I was able to create stamps for the highway and buildings faster than any other program,” says Ian Crighton.
To create the buildings, the artists used a combination of the clay and grid snap tools with each having different treatments on the sides. This allowed one piece to be stacked and rotated adding variety to building types. This technique was replicated for creating the highway, signs, sidings. They made sure that the assets were divided into meshes from clay sculpts so the assets could be textured separately.
Export MasterpieceVR created assets as FBX or OBJ so you can import with ease into other programs.
Step 4 - Optimization
The assets were tweaked in ZBrush… but only a little, by optimizing using "Decimation Master".
The assets were then exported to low poly models, each around 50k to RizomUV and unwrapped. Finally, they loaded the models into Substance Painter to a little extra texturing.
"Overall, the feeling of rigging in VR is just a whole lot more enjoyable for me. The intuitiveness of it makes it easier to handle complex rigs quicker than non-VR programs” - Martin Nebelong
Step 5 - Masterpiece Motion
Martin Nebelong explains that “This task would have taken me much longer with any other rigging tool. VR gives you unparalleled precision when placing bones. It only took one try!”
Simply put, the character was rigged in minutes. They imported the model into Masterpiece Motion, including albedo and normal maps.
Rigging with Masterpiece Motion
Skinning with Masterpiece Motion
They used Masterpiece Motion’s auto-skinning feature. The result was, as Martin Nebleong describes, “Perfect! I only had to manually tweak the weight map in a couple of spots.” Nebelong continues, “While working on the weight map, I constantly move and pose bones to see how the mesh deforms. VR makes this process much more intuitive and even fun.”
The now poseable character is saved out as an FBX
Step 6 - Tvori
“Tvori… it’s a great animation program because it’s a lot more intuitive to move elements around in a true 3D space than on a monitor”, Martin Nebelong explains.
They loaded in the mesh, rig, and other assets and quickly composed the scene and got the pose right on the first try. Once the stage was set, the octopus was animated by key-frames and posed using the touch controllers.
Animating with Tvori
Getting great camera moves is very easy in Tvori. Just place a camera in your scene, open a timeline view and move your camera through the scene while recording. The live preview of the camera makes it a joy to plan and execute your shots.
There are two options to export animations with Tvori. Alembic and FBX. Tvori usually recommends Alembic as it supports vertex colours. FBX files are export without vertex colours, so it is great if you are rendering in another program like Marmoset. In this case, the artists exported as a whole FBX scene.
Step 7- Marmoset
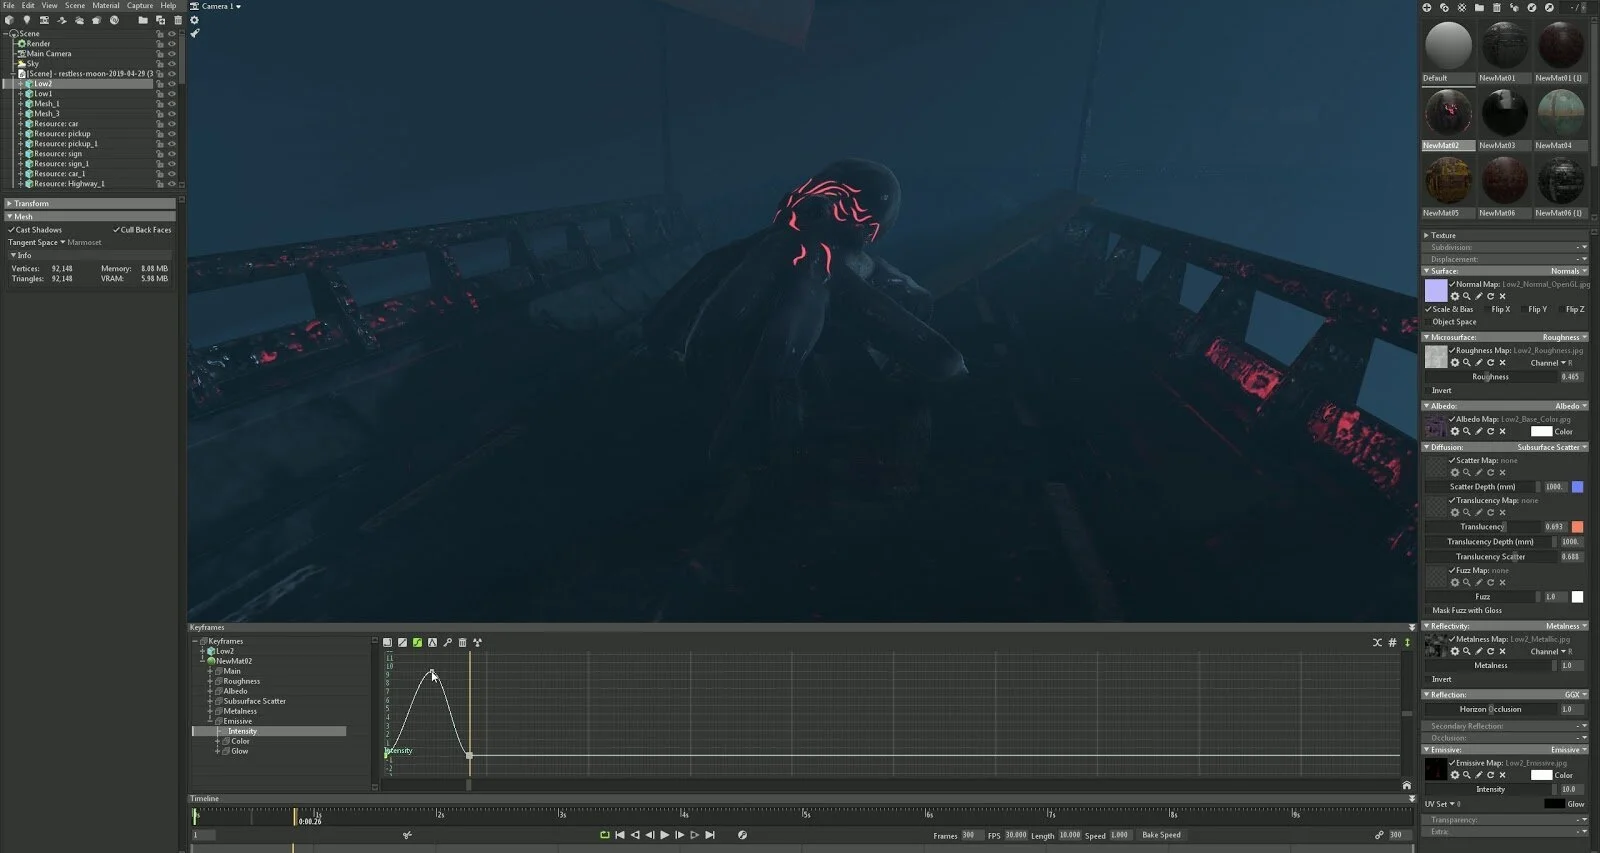
The final step is the cherry on top. The artists used Marmoset Toolbag for setting lighting, additional camera pans and other effects.
There you have it. Animating in 7 easy steps! A breeze, even when you are animating a dark and ominous deep-water scene.


